DIY Fiberglass Radar Arch

mjkkemper

Member
Joined
May 14, 2006
RO Number
21252
Messages
132
Last winter I completed the new swim platform and stairs. This winter is the radar arch and hardtop on the Aft of my carver 3207
Below is the link to last year's project.

http://www.boatered.com/forum/topic.asp?TOPIC_ID=144725#989202

below is a sketch

caverhardtop2.jpg


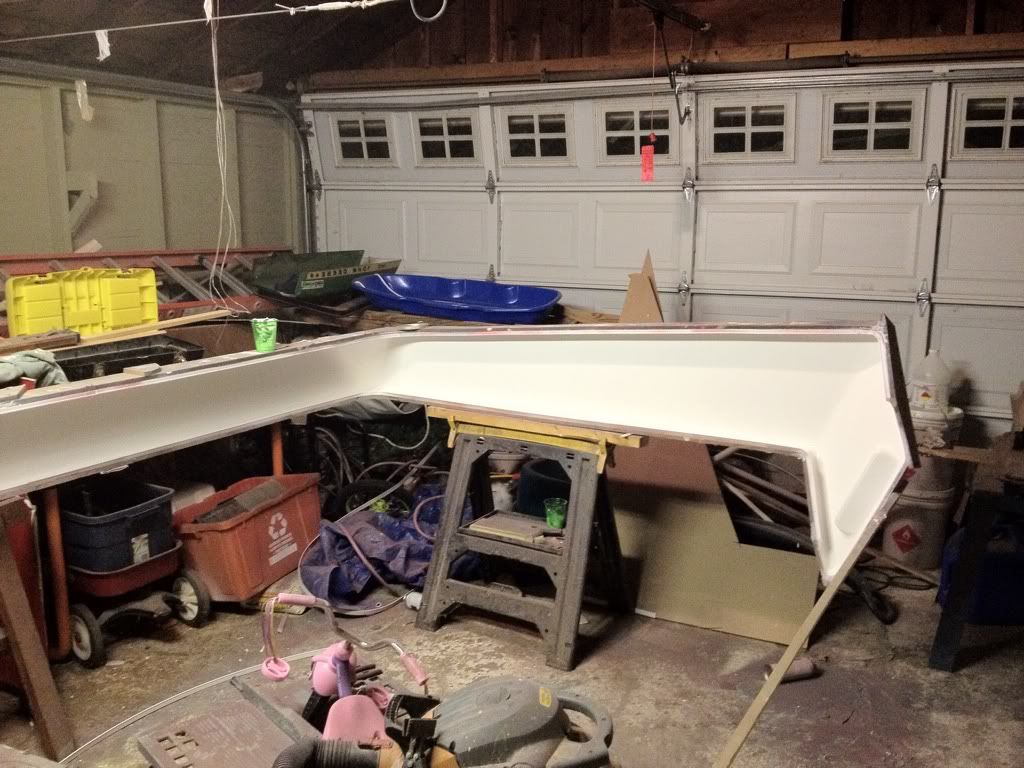
below is the partly completed female plug

IMG_0320.jpg


Here is a close up of the lower section. priming and sanding

IMG_0327.jpg


below is how i am planning the interior curve
archfiberglassbacksketch.jpg
 
How do you figure out the "sway factor"? What I mean by that is the arch is supporting (in front)the hardtop, add the weight of a tender, how do you control, support or calculate the side to side motion? My arch on my boat would sway a bit in rough seas, I am guessing yours will not.

The look is going to be awesome, the functionality is WOW. Loved what you did when you built your swim platform, can't wait to see this unfold.

Walter
 
Looks like it would would fit my 3227. Any interest in making another one?
Jim
 
That is definitely one way to pass the winter! The platform was an awesome job and these features will add a ton of appeal to the 32. One thing I always wished my old 32 Aft had was a radar arch and a hardtop over the aft deck.

This will look a TON better than what most come up with for a cheap solution to add an arch or hardtop. I can't wait to see this unfold in the spring!
 
nice shop and project.....I'm coveting some of the hardtops I see go by here in S FL.....Would love to make one this summer. Please post pictures and how you are doing it.

Thanks

Foot
 
quote:

Originally posted by 32carv

Looks like it would would fit my 3227. Any interest in making another one?
Jim


Jim

with this build I am not sure if I will be able to get the plug off in one piece. The plug curves in at the base and i will be including the inside curves. which will need to be removed to flare in the inside fiberglass. It might be a one and done plug but i will see how it comes out of the mold.
 
Red it is!

One more coat of the tooling coat and I will be ready to Wax the plug. Should be able to start the gel coat and one layer of surfacing veil this weekend.

c6ec18d5.jpg
 
I think fiberglass guys are amazing. I woulda' just made it outta SS or aluminum.
 
I havent updated lately but below is my progress

Gel Coat
b1c94414.jpg


First layer - Veil
d87cd268.jpg


Wetted out
82627996.jpg


Second layer - Chop Mat
8b9428c3.jpg


ada42446.jpg


Next 3 layers of 1708 Bi-axle. then close up the back.
 
Boy I wish I could whip up major fiberglass enhancements like that. Looks great.
 
Finishing the last layer of biaxle.

20122-02-12053.jpg


overlaped the piece that will hold the back piece.

65a0404a.jpg


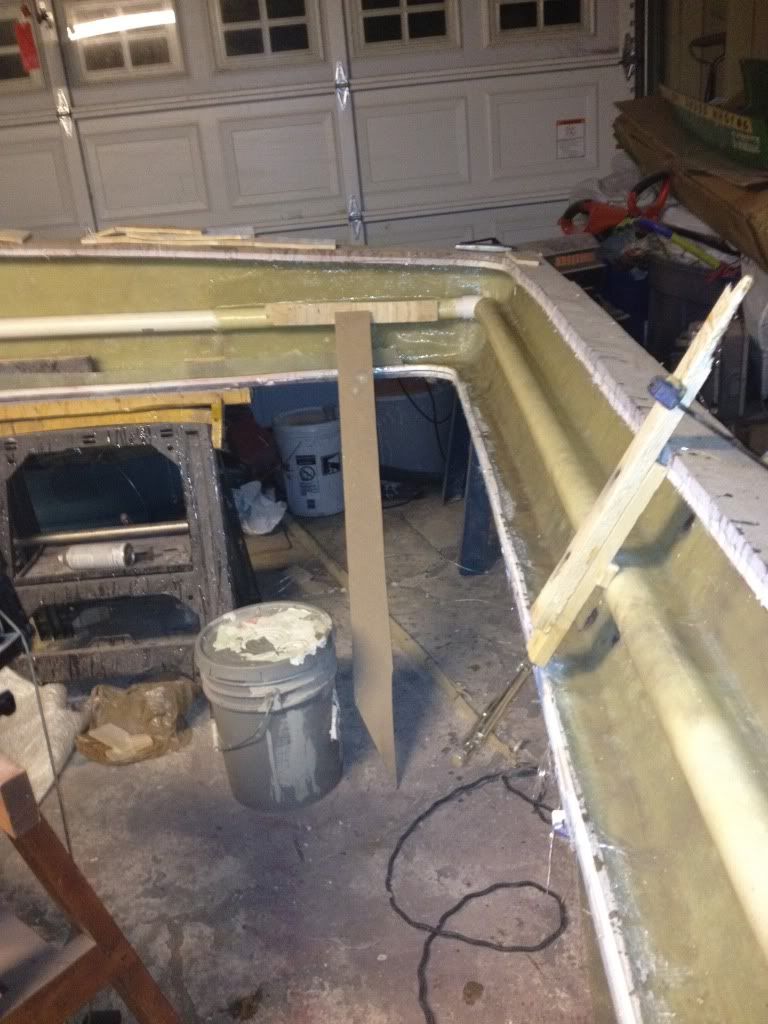
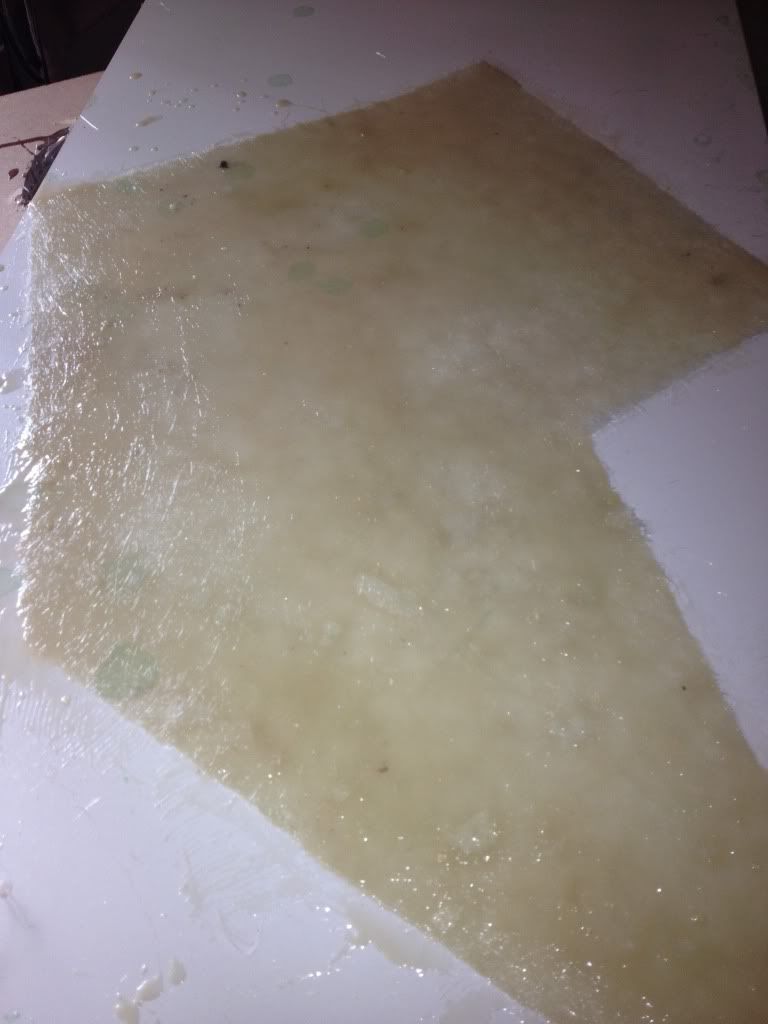
I will be flipping the plug over to put the bottom flap on. The inside pieces I will wet the pattern of the back - one layer of chopped mat on a waxed piece of white melamine. once its sets up it will be ridged but yet flexible. this will tie into the flap in the picture above. After that is in I will build up the inside until its flush. I alread incorportated the inside curve in the mold which is removable. Also I will be running a PVC tube up the middle in the inside for a chase. After a couple of layers on the inside wall I will drill a pour hole in the bottom and a relief hole in the top and fill the cavity with Closed Cell Urethane Foam. 2lb density should be adequate. This will glue the inside piece in as well as dreading the sound. I could use a denser mixture but I am not filling the core for strength. I will try and take a video of the foam expanding in the chamber.
 
Amazing doesn't do your work justice. I'm really curious-what do you fabricate the plug from and how do you get all the smooth radius and bends? To me, building the plug so it makes a nice finish product is the "magic"
 
Put in the chase for the Radar and Satillite cables.
20122-02-12014.jpg


Making the inside pannels
20122-02-12008.jpg


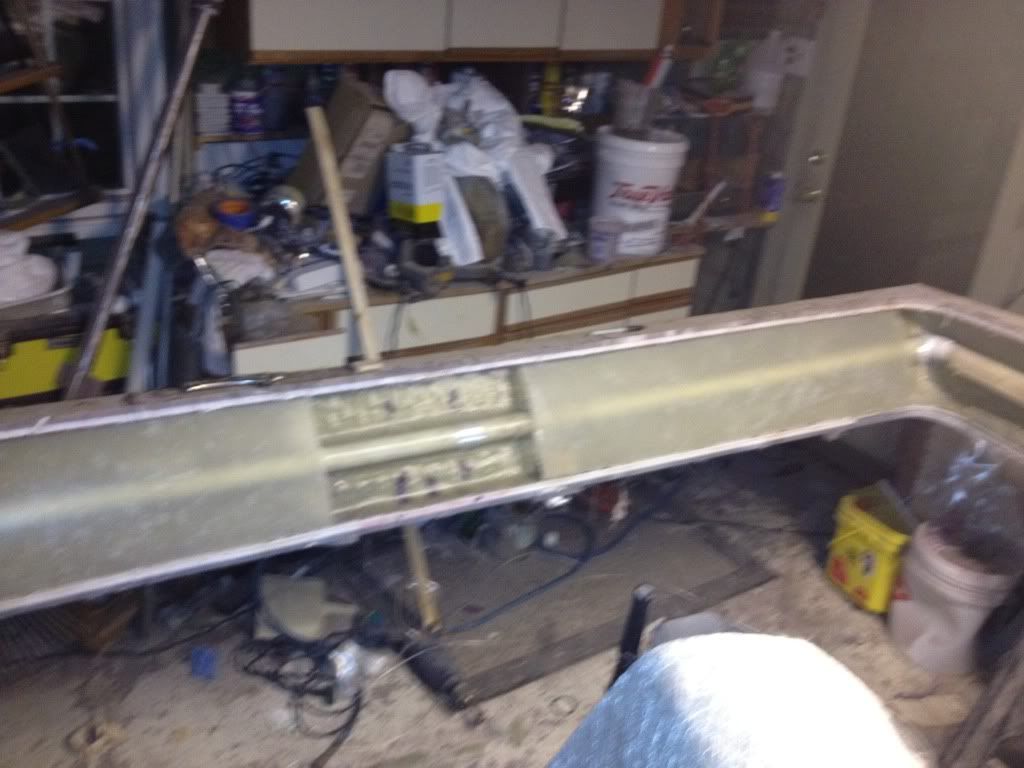
Dry fit of the inside panels
3b6876e8.jpg

de0b3c33.jpg


Once the inside panels are in i will fill the cavity with 3LB closed cell Urathan two part expanding foam. In the enclosed area i should get a 4Lb or greater setup.

After this will be building up the inside to match. At this time i will probaly demold.
 
Finished the inside first layer and filled with the two part urathan closed cell foam and de-molded.

62a9523e.jpg


One more layer on the inside than flare out with resin mixed with micro balloons.
 
That looks fantastic. Do you do fiberglass for a living, or just on the side? I wouldn't even know where to start on something like that!
 
Back
Top