Well, this should be fun!!

Tim Bromund

Active member
Member
Joined
Aug 21, 2005
RO Number
18797
Messages
335
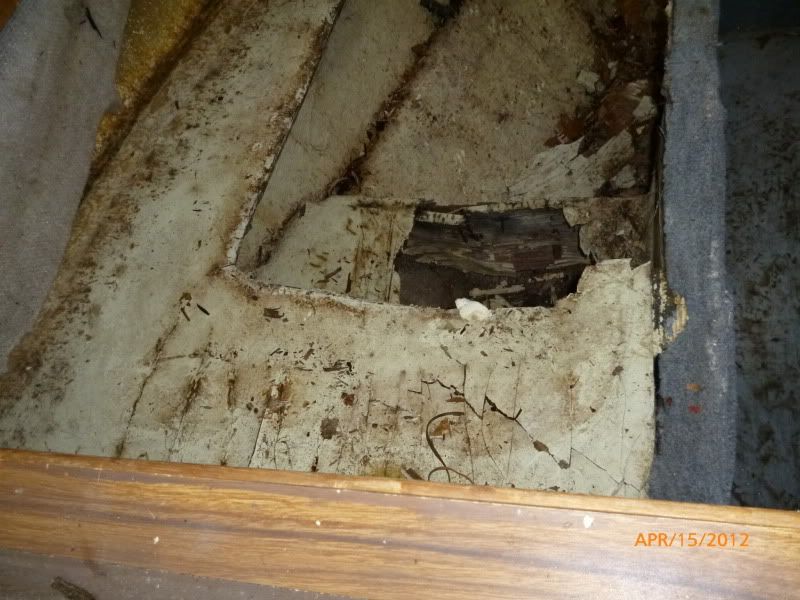
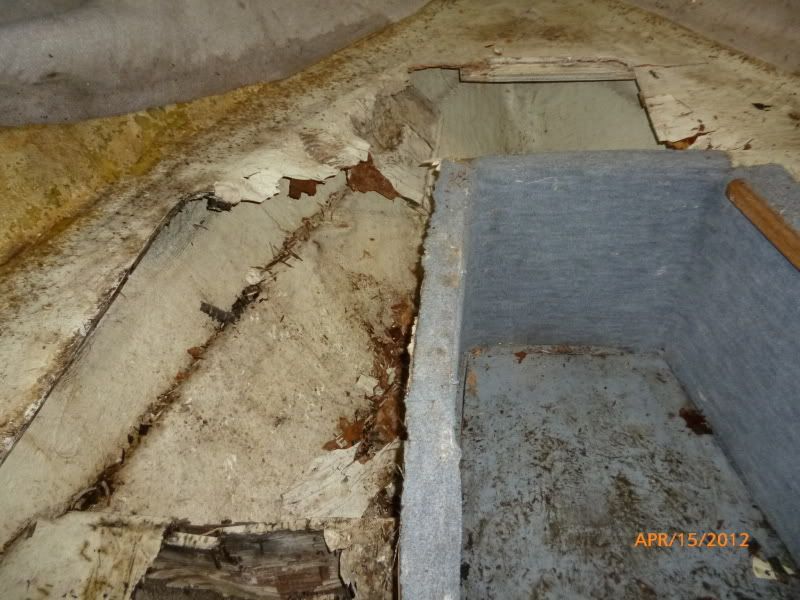
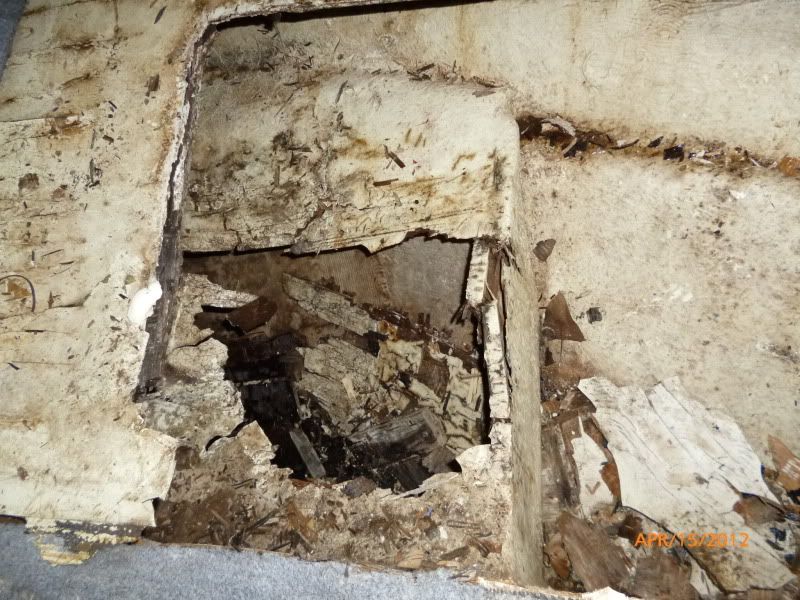
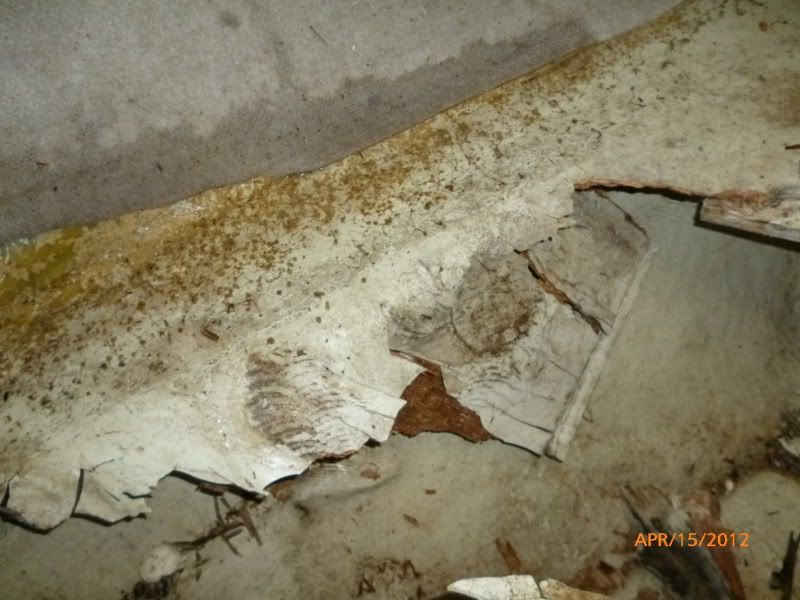
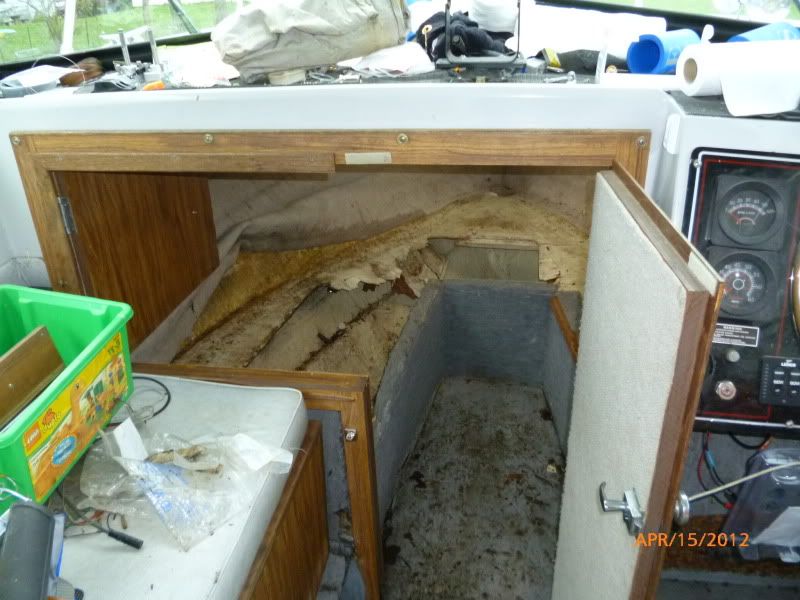
This crumbling pile of rotten wood pulp used to be the interior of my boat cabin.

Ahhh, the joys of owning a 26 year old boat.
P1020381.jpg


P1020382.jpg


P1020383.jpg


P1020386.jpg


P1020390.jpg


P1020395.jpg


P1020396.jpg


First I've gotta take off the rub rail and reseal the leaking hull to deck joint that was the cause of this mess.
P1020397.jpg


[:-bigeyes][:-bigeyes]

Tim
 
Well, you've sure shown us the true aspects of BEFORE. Good Luck. Watching for the AFTER show. :-)

Good Luck and Persevere !
 
Awrity now. Let's roll up them sleeves and do something nice for the ol' girl!
 
You might find it as easy to get at that rubrail from the inside. They can be difficult to get apart, often being partially sealed, partially apart. If you have good access you might well be able to clean, grind, fill and glass the entire hull/deck joint in the bow area in a day. The plywood as nasty as it is to rip out, won't be a terrible job to redo.
 
Once you get all that mess removed, and before you spend any money and effort rebuilding the interior, make sure you inspect the stringers and frames. Back then many entry level builders used plywood and gel coat / minimal chop gun use not just for seats but also for structural members

I hope you were able to salvage that so distinctively 80s fuzzy hull covering! :)
 
Ummmm.....Why???? The amount of work & materials will far exceed the value of the boat which will still be a 26 year old boat.
 
Pascal,

I replaced the floor, stringers, motor bunks and transom in 2003, so everything from the cabin bulkhead back has already been redone properly and yes, I'm doing everything in my power to save that hull covering.

Veebyes,

The cost will be minimal (couple hundred bucks in materials) the rest is my time. Why, because it is a great, well laid out fishing boat that is set up exactly how I want it and I really can't afford to replace it with anything remotely comparable that isn't also of the same vintage (with the same 20+ YO boat issues).

It actually looks worse than it is. The cabin on that boat is pretty small and is only used for tackle storage, so it doesn't have to look pretty when I'm done, just structurally sound.

Tim
 
Keep us updated with progress pics Tim, Is it going to have any impact on your fishing schedule?
 
quote:

Originally posted by Ghost

You might find it as easy to get at that rubrail from the inside. They can be difficult to get apart, often being partially sealed, partially apart. If you have good access you might well be able to clean, grind, fill and glass the entire hull/deck joint in the bow area in a day. The plywood as nasty as it is to rip out, won't be a terrible job to redo.


Great idea, thanks. I'll take a look at that, I wasn't really looking forward to trying to get that old rub rail off to get access to the hull/deck joint.

IMG_0043.jpg


Tim
 
quote:

Originally posted by The Other Gary

Keep us updated with progress pics Tim, Is it going to have any impact on your fishing schedule?


Gary, it depends on how I approach this. If I wait to complete this before dropping it in for the season, absolutely.

My other option is to take a bunch of measurements, design what I want to do and draw it up in AutoCAD and get the wood pieces cut and properly epoxied/sealed over the summer.

In the meantime, seal the leaking hull/deck joint, drop er in the slip and live with the cabin torn apart for the fishing season. Then take the pre-finished pieces and put the cabin back together after I pull it out in the fall.

The spring salmon fishing has already exploded on Lake Ontario, so right now I'm leaning towards option #2. Sealing the leak is an absolute priority, but I can live with the cabin tore up for the summer, all I do is store a bunch of fishing rods in there anyway.

Tim
 
I did the same job you're gonna do but I replaced all the wood from the transom to the helm and redesigned the cockpit. Got over $2K in epoxy alone. You'll learn what they mean by 'Can of Worms'[:I]
 
Hey Tim, no snow in the picture.....taken last summer maybe? <GRIN>

Good luck with all the work. I'm betting it will look far better than when the boat was new.
 
quote:

Originally posted by jtybt15

I did the same job you're gonna do but I replaced all the wood from the transom to the helm and redesigned the cockpit. Got over $2K in epoxy alone. You'll learn what they mean by 'Can of Worms'[:I]


Charlie, been there, done that. That part of the boat was completely ripped out to the bare hull and redone in 2003.[:-bigeyes]
 
quote:

Originally posted by Tim Bromund

...Great idea, thanks. I'll take a look at that, I wasn't really looking forward to trying to get that old rub rail off to get access to the hull/deck joint.

Tim


Tons of caulk for the hull/deck joint for the fishing season. A drop here or there isn't going to matter if the interior is ripped out.

Post fishing season...Couldn't you sever the rub rail just aft of the cabin and remove only the front portion. I would "think" that it ends under the bow cap.

Removing the rail and rip all the caulk old and new out with a hawk bill knife. Fill the gap with Kitty Hair or marine equal. I did this with my regal for the same problems you are having (caught mine early!) only I used 5200. It made a lot of difference in the stiffness of the boat overall.
 
quote:

Originally posted by Ghost

You might find it as easy to get at that rubrail from the inside. They can be difficult to get apart, often being partially sealed, partially apart. If you have good access you might well be able to clean, grind, fill and glass the entire hull/deck joint in the bow area in a day. The plywood as nasty as it is to rip out, won't be a terrible job to redo.


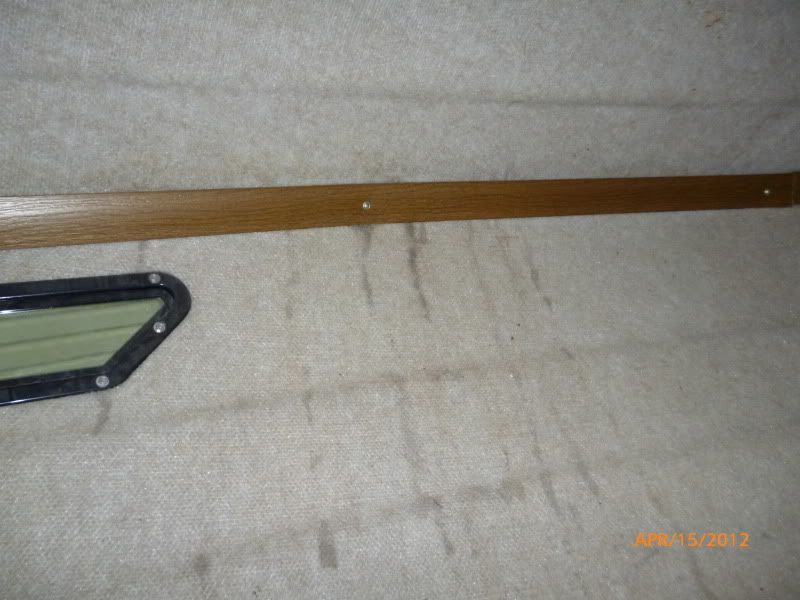
Did some investigating the other day. I took the trim piece off and pulled the (as Pascal put it) "so distinctively 80s fuzzy hull covering! :)" away and it turns out that the hull to deck joint is easily accessible from the interior. In fact, the caulk joint is clearly visible, including the gaps in the caulk where the leaks are located.

Right now, it looks like I will be able to rake out the old caulk with a hook knife (thinking of using a 5 in scraper) and recaulk/seal the joint with 5200 from the inside without having to remove the rub rail from the outside at all (yippee).

Thanks Ghost for the great idea to check the inside first, I was ready to wrestle the rub rail off and tackle it from the outside before doing any interior work. Just made my life a whole lot easier. I should have that entire joint in the cabin raked out and resealed in a day.

I was going to tackle it today, so of course after beautiful weather all week, it is pouring rain [:-banghead]

Tim
 
Back
Top